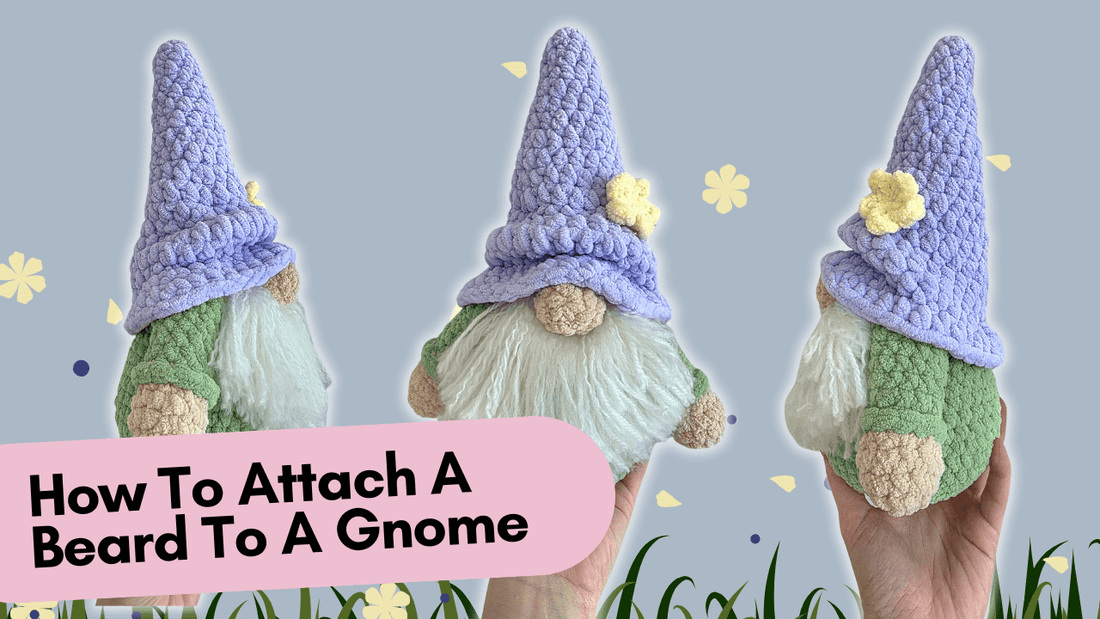
How to Attach a Beard to Gnome
When it comes to crafting a gnome, the beard plays a huge role in defining its character and charm. Whether you’re creating a whimsical plushie as a gift, adding a unique accent piece to your home décor, or simply experimenting with new crafting techniques, a well-attached beard can elevate your gnome’s look from simple to truly eye-catching.
In this guide, we’ll walk through the process of attaching a beard securely and neatly, ensuring it complements your gnome’s overall design. From choosing the right materials—like yarn, faux fur, or even wool roving—to positioning and trimming, these tips will help you create a beard that not only looks great but lasts. Let’s get started on giving your gnome the perfect finishing touch!
Step-by-Step Instruction
The length of the yarn strands will determine how long the gnome's beard will be, so decide on your desired length beforehand. A helpful tip is to cut the yarn twice as long as the final beard length, as the strands will be folded in half.
- Take 2-3 strands of yarn and fold them in half.
- Insert your crochet hook through a stitch where you want to attach the beard.
- Grab the folded yarn with the hook and pull it partially through the stitch, creating a loop.
- Take the loose ends of the yarn and pull them through the loop.
- Pull the yarn snug to secure it in place.
- Repeat this process with the remaining yarn strands until the beard is complete.
Optional: Gently comb the trimmed yarn strands with an animal hair brush to create a soft, textured appearance that resembles / mimick a real beard.