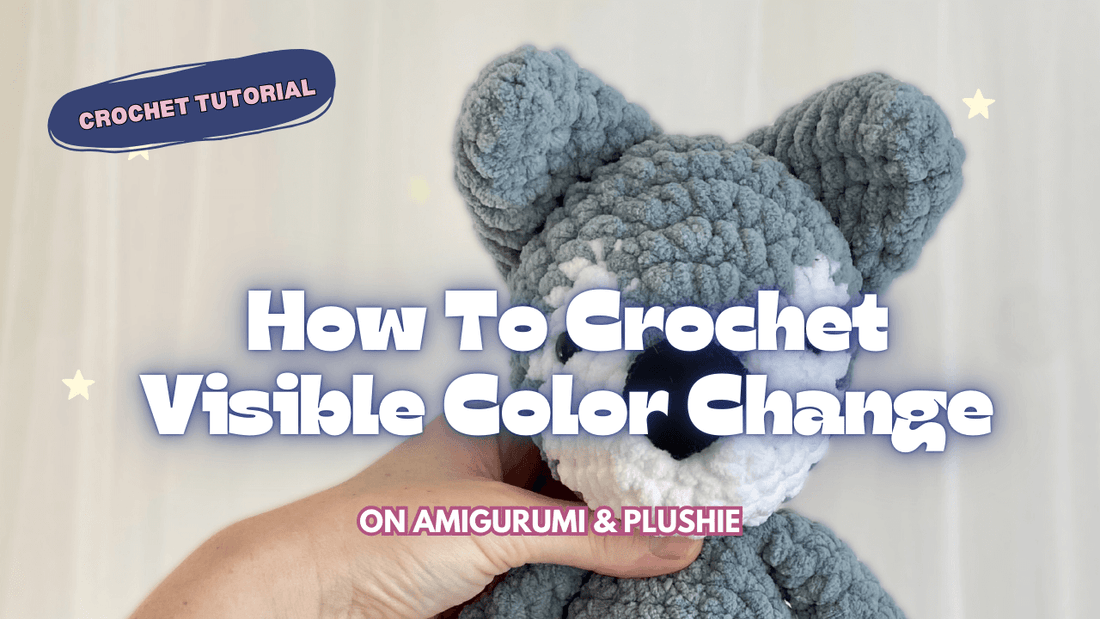
How to Crochet Visible color Change
When creating amigurumi and plush toys, color changes can make all the difference in how your finished project looks. Whether you’re switching colors for a character’s outfit, adding stripes, or simply incorporating multiple shades, mastering the technique of a visible color change is crucial for achieving clean, professional results.
In this blog post, we’ll guide you through the steps of making a visible color change in crochet—specifically for amigurumi and plush toys. We’ll also share some tips to ensure smooth transitions, so your crochet color changes look seamless and polished. Whether you're a beginner or a seasoned crocheter, learning this method will help elevate your skills!
What is a Visible Color Change in Crochet?
A visible color change in crochet refers to switching from one yarn color to another in the middle of your project. This method is most commonly used in amigurumi, plush toys, and other projects where different colors bring out the details of the design. Unlike invisible color changes, visible changes show a clear distinction between the two colors, which is great for designs where a bold contrast is needed.
Using a visible color change is particularly important in projects where you want a defined separation between different sections of your crochet item, like the body and clothing of a stuffed animal, or color blocks in a plush toy.
Step-by-Step Guide: How to Crochet a Visible Color Change
To achieve a visible color change in crochet, you need to switch colors smoothly without disrupting the flow of your stitches. Follow these steps for a clean and effective color transition:
-
Finish the Last Stitch of the Current Color
Begin the color change during the last stitch of the color you’re currently using. This will ensure that the transition happens seamlessly and without extra loops. -
Insert the Hook as Normal and Yarn Over
As you finish the last stitch, insert the hook into the stitch, and yarn over, leaving two loops on the hook. -
Introduce the New Color
Take the new yarn color and loop it around the hook. This step is key to switching colors without creating bumps or gaps in your work. -
Pull the New Yarn Through the Loops
Pull the new color yarn through both loops on the hook. This step officially starts the color change in your project. -
Crochet with the New Color
From here, crochet normally with the new color. The next stitch will form the first stitch of the new color, creating a clean break between the two colors.
By following these steps, you’ll have a neat, visible color change that adds contrast and detail to your amigurumi or plush toy.
When to Use a Visible vs. Invisible Color Change
Choosing between a visible and invisible color change depends on the effect you want to achieve in your project. If you want a clean separation between two colors, opt for a visible color change. This method is ideal for stripes, patterns, or creating bold, eye-catching designs.
On the other hand, an invisible color change works best when you want the color switch to be subtle, such as in a gradient or color blending project.
Our tutorial focuses on the visible method because it’s perfect for creating amigurumi toys with sharp, playful color transitions.
Conclusion: Elevate Your Crochet Skills with Clean Color Changes
Learning how to crochet a visible color change is a valuable skill for anyone making amigurumi or plush toys. It not only enhances the visual appeal of your creations but also helps make your finished projects more durable.
Whether you’re making a toy for a loved one or crafting to sell, using this technique will add a professional touch to your work, setting your creations apart from others. Now that you know how to master this color change method, get ready to take your crochet projects to the next level!
