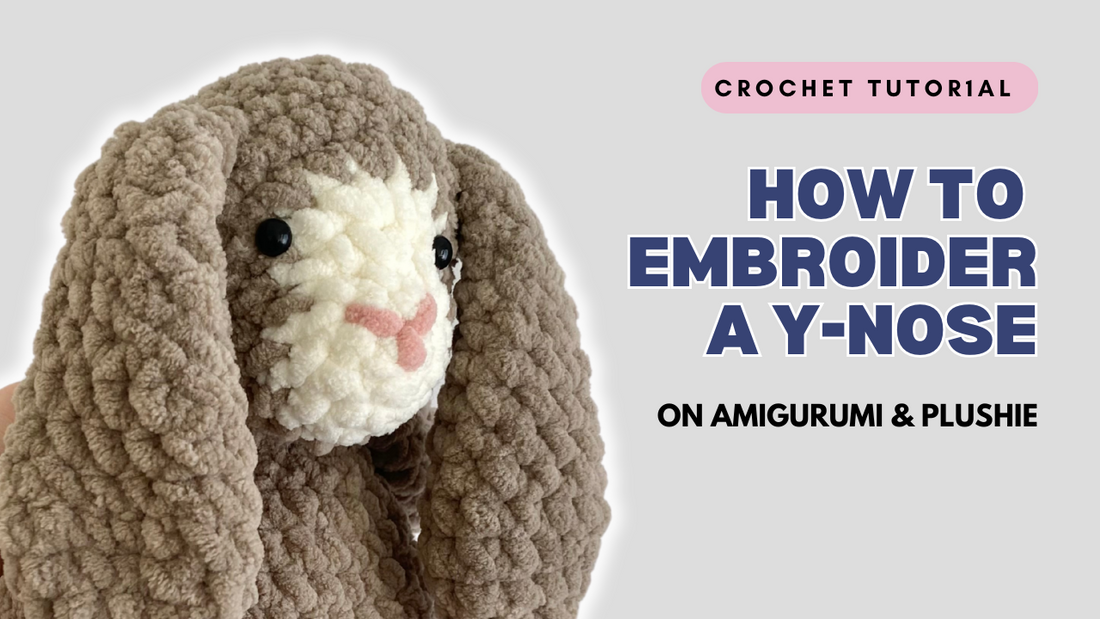
How to Embroider a Y Nose on Amigurumi, Plushies & Co.
Embroidering a Y-shaped nose is a simple yet charming way to give your amigurumi or plushie creations more personality. The Y nose is often used to add a soft, cute, and distinct feature, making it perfect for animals and characters that need a more delicate snout.
Whether you're working on a sheep, bunny, or any other adorable creature, the Y-shaped nose will elevate the character’s expression. In this guide, we’ll show you how to embroider a Y nose and share some animal examples where this technique works best.
Skill Level & Time Commitment
This Y-nose embroidery technique is perfect for beginners and requires no prior embroidery experience. If you can thread a needle and make basic stitches, you can master this technique! The entire process takes just 5-10 minutes once you're familiar with the steps, making it an ideal quick-finish detail for your amigurumi projects.
Even if you've never embroidered facial features before, the Y-nose is one of the most forgiving techniques to learn. The three-pronged design creates an adorable, expressive look that works beautifully on a wide variety of animals and characters. Small imperfections often add to the handmade charm rather than detracting from it.
What Animals Are Perfect for a Y-Shaped Nose?
- Sheep/Lamb: The Y nose fits perfectly with the fluffy, round faces of sheep and lambs, giving them an innocent and gentle appearance.
- Bunny: A Y-shaped nose adds to the softness and cuteness of a bunny, enhancing its playful and endearing look.
- Cats: Small cats or kittens with Y noses can appear more expressive and delicate, perfect for soft, cuddly designs.
- Frogs: The Y nose suits frogs well, adding character while complementing their wide, expressive eyes.
- Bears: A Y-shaped nose can give a bear a slightly rounded, soft look, making it appear more cuddly and approachable.
- Pandas: Similar to bears, pandas benefit from the Y nose, which highlights their adorable, round faces.
- Pigs: The Y-shaped nose works well for pigs, adding to their charming and round face design.
- Koalas: The Y nose helps enhance the cute and soft features of koalas, perfect for making their faces more inviting.
These animals often have rounded or soft features that are complemented beautifully by the simple, clean look of a Y-shaped nose. It’s an easy way to make your creations even more lovable!
Materials & Tools You'll Need
Essential Materials
Yarn for Embroidery: The type of yarn you choose dramatically affects the final look of your nose, so this is your most important material decision.
- Cotton Yarn – Creates a fine, delicate, smaller nose perfect for smaller amigurumi (under 4 inches tall), realistic animal faces, or when you want refined details. Cotton yarn holds its shape beautifully, doesn't stretch over time, and provides clean, crisp lines with excellent definition on all three branches of the Y. It's ideal for cats, foxes, koalas, puppies, and any project where you want a subtle, sophisticated look. [Photo placeholder: Cotton yarn Y-nose example]
- Chenille Yarn – Produces a soft, plush, bulky nose that's perfect for larger plushies (over 5 inches tall), teddy bears, or when you want a cuddly, dimensional look. Chenille's fuzzy texture adds a tactile element and creates a more prominent, eye-catching nose with the three branches appearing fuller and more defined. This works wonderfully for bears, large dogs, wolves, and any project where the nose should be a statement feature. [Photo placeholder: Chenille yarn Y-nose example]
Pro tip: Match your embroidery yarn weight to your project's body yarn. If you crocheted your amigurumi with worsted weight cotton, use worsted weight cotton for the nose. If your plushie is made with chenille, embroider with chenille for a cohesive look.
Needed Tools
- Tapestry needle (also called a yarn needle) – Choose one with a blunt tip and large eye. Size 16-18 works for most yarn weights
- Small scissors – Sharp embroidery scissors are ideal for clean cuts
- Stitch markers or pins (optional) – Helpful for marking center placement and the three anchor points before you begin
- Ruler or measuring tape (optional) – Useful if you're matching nose sizes across multiple projects or ensuring symmetrical branch lengths
Yarn Amount
You'll need approximately 15-20 inches (38-50 cm) of yarn per nose. The Y-nose requires slightly more yarn than a V-nose due to the additional center branch. This gives you enough length to work comfortably without excess waste. For cotton yarn that you'll fold in half, start with 20 inches. For chenille yarn used as a single strand, 15-18 inches is sufficient.
Choosing Your Yarn & Thread: A Detailed Guide
The yarn you select for embroidering your nose is crucial to achieving your desired look. Here's a comprehensive breakdown to help you make the best choice:
Cotton Yarn – The Precise Choice
Best For:
- Small amigurumi (2-4 inches tall)
- Realistic animal representations
- Clean, minimalist aesthetic projects
- Items where you want refined, delicate features with clear Y-branch definition
- Projects made with cotton yarn bodies
- When you want all three branches to be clearly visible and crisp
Characteristics:
- Creates thin, precise lines with excellent stitch definition on all three branches
- Doesn't stretch or lose shape over time—your Y stays sharp
- Holds tension beautifully for symmetrical results
- Available in an enormous color range
- Easy to work with—doesn't split as easily as some fibers
- Shows the Y-shape most clearly with maximum detail
Recommended Weights:
- Sport weight (2) for miniature amigurumi
- DK weight (3) for small to medium amigurumi
- Worsted weight (4) for medium to large projects
Working Technique: Fold cotton yarn in half, keeping the loop end connected. This doubles the strand and creates a fuller nose while still maintaining fine detail on each of the three branches.
[Photo placeholder: Cotton yarn Y-nose close-up showing fine detail and clear three-branch definition]
Chenille Yarn – The Plush Choice
Best For:
- Large plushies (5+ inches tall)
- Teddy bears and cuddly toys
- Projects where you want prominent, touchable features
- Items made with chenille, velour, or fuzzy yarn bodies
- Creating a soft, huggable aesthetic
- When you want the nose to have substantial visual weight
Characteristics:
- Produces a soft, fuzzy, dimensional nose with all three branches appearing full and plush
- Fills space beautifully—covers more area with fewer stitches
- Creates a cozy, inviting texture that invites touching
- Hides imperfections naturally due to its fuzzy surface
- Adds a premium, luxury feel to finished projects
- The three branches blend slightly together for a unified, cohesive look
Considerations:
- Can be slightly trickier to work with—the fuzzy texture sometimes catches
- More difficult to undo if you make a mistake
- May shed slightly (this is normal and won't affect durability)
- Work slowly and deliberately for best results
- Takes extra care to keep the three branches distinct and visible
Working Technique: Use chenille as a single strand (do not fold). The yarn's bulk provides enough dimension without doubling.
[Photo placeholder: Chenille yarn Y-nose close-up showing plush, dimensional look with soft branches]
Other Yarn Options to Consider
Embroidery Floss: For extremely small amigurumi or miniature dolls, 6-strand embroidery floss (use all 6 strands together) creates an even finer nose than cotton yarn. Perfect for capturing delicate Y-shapes on tiny projects.
Wool Yarn: Provides a nice middle ground between cotton and chenille—softer than cotton but more defined than chenille. Excellent for felted or rustic-style projects. Creates branches with subtle texture.
Velvet or Plush Yarn: Similar effect to chenille but with a slightly different texture—perfect for luxurious, gift-quality plushies. The three branches have a silky appearance.
Sport Weight Acrylic: Budget-friendly option that still provides good definition. Readily available in every color imaginable and works well for practice pieces.
Color Selection Tips
- Black or dark brown – Classic choice that works with almost any project, especially cats and realistic animals
- Pink – Perfect for lighter-colored animals, bunnies, or cute cartoon-style creatures
- Dark gray – Sophisticated alternative to black, works beautifully on gray or white amigurumi
- Match the body color – For a subtle, monochromatic look where the texture creates the definition
- Contrast color – Makes the Y-nose pop and adds visual interest; try dark noses on light animals or vice versa
- Natural animal colors – Brown for bears and foxes, black for dogs and cats, pink or gray for koalas
Pro Tip: When in doubt, hold different colored yarns against your completed amigurumi head (before embroidering) to see which shade you prefer. Take a photo—sometimes the camera reveals which option looks best! Pay special attention to how the three branches of the Y will show up against your chosen background color.
Testing Your Yarn Choice
Before committing to your final project, consider making a quick test on a scrap piece of fabric or an old amigurumi. This allows you to:
- See how the yarn looks at the scale you're working with
- Practice the Y-shape stitch placement
- Confirm the color works with your project
- Get comfortable with the technique before working on your finished piece
How To Embroider a Y Nose: Step-by-Step Tutorial
Written Tutorial
Embroidered noses are a great alternative to safety noses. Properly worked, an embroidered Y-nose is not only beautiful to look at, but also safe for children.
Step 1: Insert the needle two stitches to the left of the center of the magic ring and bring it out through the center.

Step 2: Insert the needle into the upper left and bring it out at the upper right. This creates the left bar/nostril of the V-shaped nose.

Step 3: Insert the needle into the center of the magic ring and bring it out at the lowest point. This completes the right bar of the Y-shaped nose.

Step 4: Insert the needle into the center of the magic ring and bring it out at the original insertion point. This completes the lower bar of the Y-shaped nose.

Step 5: Knot the yarn.

Step 6: Hide the yarn in the head and cut the left tail if there is any.

Video Tutorial