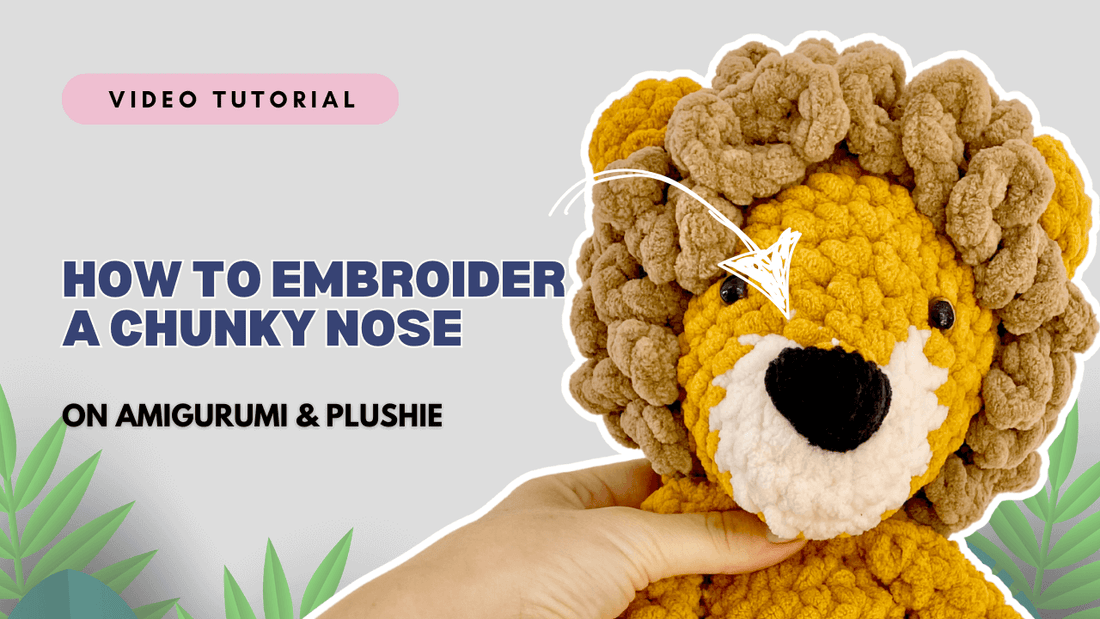
How to Embroider a Chunky Nose
In the whimsical realm of amigurumi and plush toys, it's the small details that breathe life and personality into your creations. If you're looking to take your crafting to the next level, consider the charming addition of a chunky embroidered nose. This delightful feature not only brings a touch of character but also introduces a tactile element that makes your amigurumi and plush toys even more huggable.
In this lession, as we explore the art of embroidering a chunky nose, turning your handmade companions into adorable, personality-packed wonders.
Embroider a chunky nose: Step-by-Step Guide
Before diving into the embroidery process, take a moment to plan the ideal placement for your chunky nose. Mark the spot with a removable stitch marker or use pins, providing guidance as you bring your creation to life.
Tip: The more you pull the yarn, the more you shape the head at the same time.
- Insert the needle into the head and come out in the middle (row 1 of the head, where we crocheted the chain).
- Insert the needle at the top left and bring it out in the center. This defines the height of the nose.
- Insert the needle at the top right and bring it back out at the bottom. This creates the right edge of the nose.
- Now add as many layers of yarn to the nose as needed to reach your desired thickness. To create clean edges, finish with the left and right sides.
- Optional step: For a clean upper edge, stitch to the upper right, come out at the upper left, then insert the needle back into the upper right.
- Finally, come out at the starting point. Knot the thread and hide the ends in the head.
Video Tutorial
Conclusion
Embarking on the journey of embroidering a chunky nose onto your amigurumi and plush toys adds an element of joy and individuality. Experiment with different colors, shapes, and sizes to create noses that reflect the unique personalities of your handmade companions. As you infuse character into every stitch, watch your adorable creations come to life with an irresistible charm. Happy stitching!
