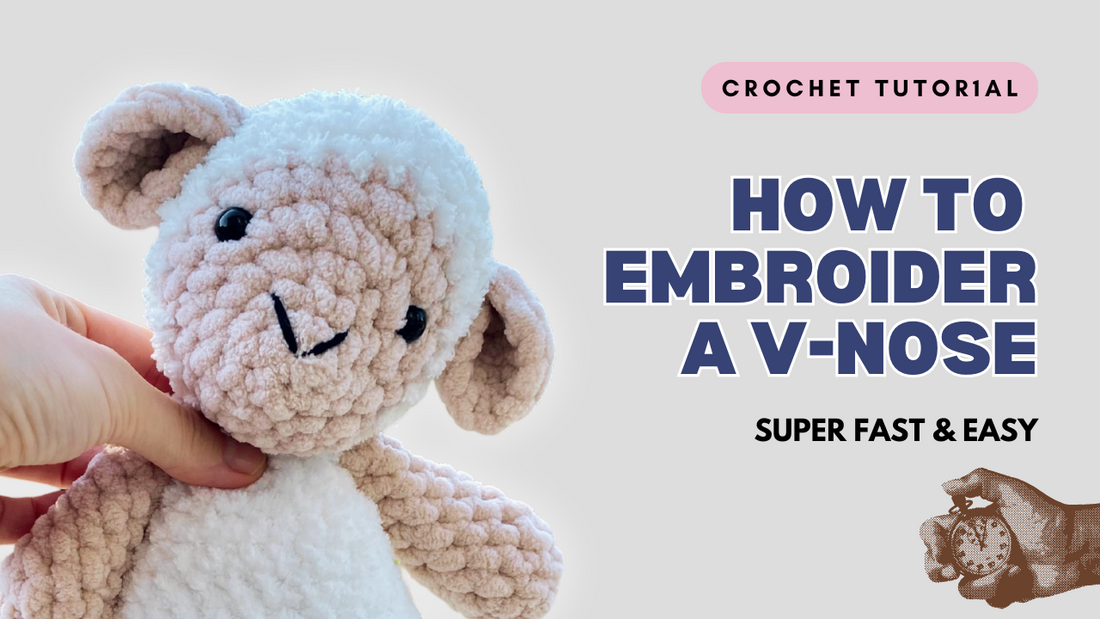
How to Embroider a V Nose on Amigurumi, Plushies & Co
If you're looking to add a touch of character and personality to your amigurumi or plushie creations, one simple yet effective detail is the V-shaped nose. Embroidering a V nose is a fantastic way to enhance the facial features of your handmade toys, giving them an expressive, cute, and unique look.
Embroidered noses are also a great alternative to safety noses. Properly worked, an embroidered V-nose is not only beautiful to look at, but also safe for children.
Whether you're working on a teddy bear, a crochet animal, or even a character plushie, this technique will bring your creations to life. In this guide, we'll walk you through the process of embroidering a V nose, from choosing the right thread to mastering the stitching technique, ensuring your plushies have the perfect little snout!
Step by step instruction
- Variant cotton yarn: Take on strand of yarn and fold it half leaving connected.
- Variant chenille yarn: Take one strand of yarn.
Step 1: Insert the needle two stitches to the left of the center of the magic ring and bring it out through the center.
Step 2: Insert the needle into the upper left and bring it out at the upper right. This creates the left bar of the V-shaped nose.
Step 3: Insert the needle into the center of the magic ring and bring it out at the original insertion point. This completes the right ba of the V-shaped nose.
Step 4: Knot the yarn.
Step 5: Hide the yarn in the head and cut the left tail if there is any.