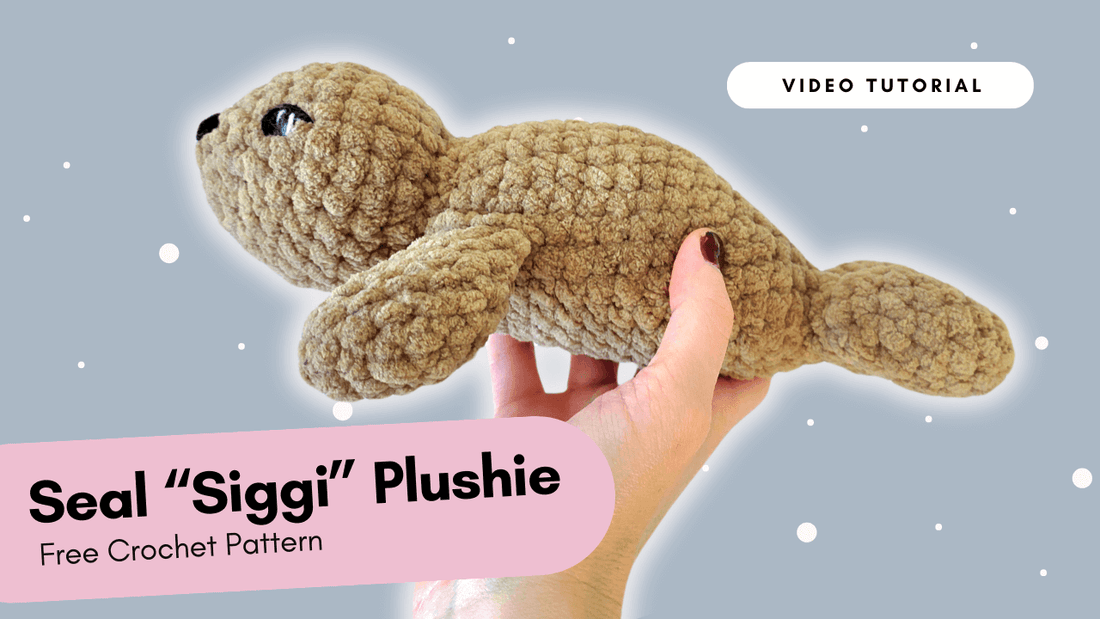
Seal "Siggi" Free Crochet Pattern
Meet Siggi, the Baby Seal! 🐾 This adorable free crochet pattern is perfect for creating a soft, cuddly plushie using chenille 6 super bulky yarn. 🧶✨
Siggi is super easy and quick to make, making it a fantastic project for beginners or anyone looking for a last-minute handmade gift. Whether you’re crafting for little ones, making market stock, or just adding to your stuffed animal collection, this baby seal is sure to melt hearts. 💛
Head to my profile to grab the free pattern and start stitching your very own Siggi today! Don’t forget to tag me in your creations—I can’t wait to see your cuddly seals! 🦭✨
Before you start
Size
- approx. 19 cm | 11'' with crochet hook 6 mm and 6 super bulky yarn
- approx. 20 cm | 11'' with crochet hook 7 mm and 6 super bulky yarn
Needed Yarn
Chenille 6 super bulky yarn. Colors:
- Main color: White, Grey or Brown (approx. 60 m ; 68 yards)
- Nose: Black (approx. 1 m ; 1 yards)
100% (mercerised) cotton, fingering weight. Colors:
- Black (approx. 1 m ; 1 yards)
- White (approx. 10 cm ; 4 inch)
Bear in mind that the needed yarn length depends on the choice of crochet hook and tension (how tightly you crochet). The required yarn is therefore generously indicated and you may need less.
Others
-
Crochet hook:
- 6 mm (for crocheters with a very loose tension) : https://amzn.to/3Y1EYET * OR
- 6.5 mm (for crocheters with a loose or normal tension): https://amzn.to/3DZMlpN * OR
- 7 mm (for crocheters with a normal or tight tension): https://amzn.to/3FJSsPA *
- Polyester toy stuffing: https://amzn.to/4c52nuW *
- Stitch marker: https://amzn.to/3Y1EBdt *
- Tapestry needle: https://amzn.to/3FNlDBh *
- Long pins/Sewing sticks: https://amzn.to/4c9gBej *
- Scissors: https://amzn.to/3FJS8jQ *
- Safety eyes: https://amzn.to/4j7EQMm *
Abbreviations
sc: single crochet stitch | inc: increase | dec: decrease | sl st: slip stitch | mr: magic ring
Instruction
Back fins
Make 2. Do not stuff the front fins. Main color.
R1: 6 sc in mr [6]
R2: (1 sc, 1 inc) x3 [9]
R3: (2 sc, 1 inc) x3 [12]
R4-5: 12 sc [12] 2 rounds
R6: (1 sc, 1 dec) x3 [9]
Fasten off the first fin: Cut yarn and secure.
Make a second fin but do not fasten off after R6 a you now continue with the body.
Connecting the back fins
Hold the fin on the left next to the second fin on the right.
Join the two fins with a single stitch. Thus both fins are connected to each other.
Mark this connecting stitch with a stitch marker. This is now the first stitch of a new round.
Body
Continue with Main color.
R7: 8 sc in right fin, (we have already crocheted the link stitch and it counts as the 1st of the total 9 sc in the right fin), 9 sc in left fin [18]
R8: 9 dec [9]
R9: (2 sc, 1 inc) x3 [12]
R10: 3 sc, (1 inc, 1 sc) x3, 3 sc [15]
R11: 15 sc [15]
R12: 6 sc, (1 inc, 1 sc) x3, 3 sc [18]
R13: 18 sc [18]
R14: 8 sc, (1 inc, 1 sc) x3, 4 sc [21]
R15: 21 sc [21]
R16: 10 sc, (1 inc, 2 sc) x3, 5 sc [24]
R17-20: 24 sc [24] 4 rounds
R21: 10 sc, (1 dec, 2 sc) x3, 3 sc [21]
R22: 21 sc [21]
R23: 9 sc, (1 dec, 2 sc) x3 [18]
R24: 18 sc [18]
Head
Continue with Main color
R25: (1 sc, 1 dec) x6 [12]
R26: (1 sc, 1 inc) x6 [18]
R27: 10 sc, (2 inc, 1 sc) x2, 2 inc [24]
R28-30: 24 sc [24] 3 rounds
R31: 12 sc, (1 dec, 3 sc) x2, 1 dec [21]
R32: 1 sc, 1 dec, 8 sc, 1 dec, 3 sc, 1 dec, 3 sc [18]
R33: 1 sc, 1 dec) x6 [12]
Insert safety eyes between R31 und R32. When you want to embroider the eyes continue with R34.
R34: (2 sc, 1 dec) x3
R35: 1 dec, 3 sc, 2 dec [6]
Fasten off: Cut yarn and sew.
Front fins
Make 2. Do not stuff the front fins. Main color.
R1: 6 sc in mr [6]
R2: 2 inc, 4 sc [8]
R3: 3 sc, 3 inc, 2 sc [11]
R4-6: 11 sc [11] 3 rounds
R7: 4 sc, 1 dec, 5 sc [10]
R8: 3 sc, 2 dec, 3 sc [8]
R9: 2 sc, 2 dec, 2 sc [6]
Crochet 1 additional sl st. Fold fin and crochet the two opposite stitches together with 3 sl st. Cut the yarn with enough left over for sewing to body.
Mark the position of the front fin with two pins on round 21 and round 23. The front fins takes 3 rounds. Sew on the front fin with the curve facing towards the back fin. Then weave in the yarn and hide the tail.
Repeat with the other one.
Embroider face details
Finally, embroider the chunky nose and eyes.
Video Tutorial
Ready to bring Siggi the Seal to life? In this step-by-step video tutorial, I’ll guide you through the entire process of crocheting your own adorable seal plushie. Whether you’re a beginner or a seasoned crocheter, this pattern is easy to follow, fun to make, and perfect for gifts, market prep, or simply adding a new cuddly friend to your collection. Grab your hook, some yarn, and let’s crochet Siggi together! 🦭💛
